


How To Create Your First Message Queue With Amazon SQS
A beginner’s guide to using message queues to decouple and scale services.


Amazon SQS is a message queue service that allows you to decouple your microservices to allow them to scale independently.
It also allows you to create queues for processing requests at scale.
A typical example use case of SQS would be to create a message queue for online orders.
At large scale, you have many concurrent orders going out to your servers.
To deal with this gracefully, you can use a message queue to queue these orders so as not to overwhelm your servers.
SQS supports millions of messages per second, making it a powerful solution for scalable applications like popular e-commerce websites.
A few other different practical use cases for SQS could be:
Decoupling microservices — You can let one service send messages to an SQS queue, and another service can consume these messages asynchronously. This allows your services to operate independently.
Task Scheduling — you can use SQS to schedule work to be processed at a later time.
Buffering Requests — SQS can act as a buffer service to handle large, sudden spikes in traffic. Instead of overwhelming your servers with concurrent requests, the requests enter a message queue and can then be processed one at a time.
Creating Your First Message Queue
To see how message queues work in practice, let’s implement our first message queue using Amazon SQS.
In your AWS account, head over to the SQS service.

On this page click Create Queue.
In the details section, add the following configuration:
Choose Standard for the type
Name your queue — let’s call it MyQueue

In the Configuration section, you can leave the defaults as they are.
These configuration settings do the following:
Visibility timeout: sets the length of time that a message received from a queue (by one consumer) will not be visible anymore to the other message consumers.
Delivery delay: If your consumers need additional time to process messages, you can delay each new message coming to the queue.
Receive message wait time: The receive message wait time is the maximum amount of time that polling will wait for messages to become available to receive.
Message retention period: The message retention period is the amount of time that Amazon SQS retains a message that does not get deleted
Maximum message size: Here you can set the maximum message size for your queue. The largest size you can send is 256KB (to send messages larger than 256KB you can use the Amazon SQS Extended Client Library for Java.
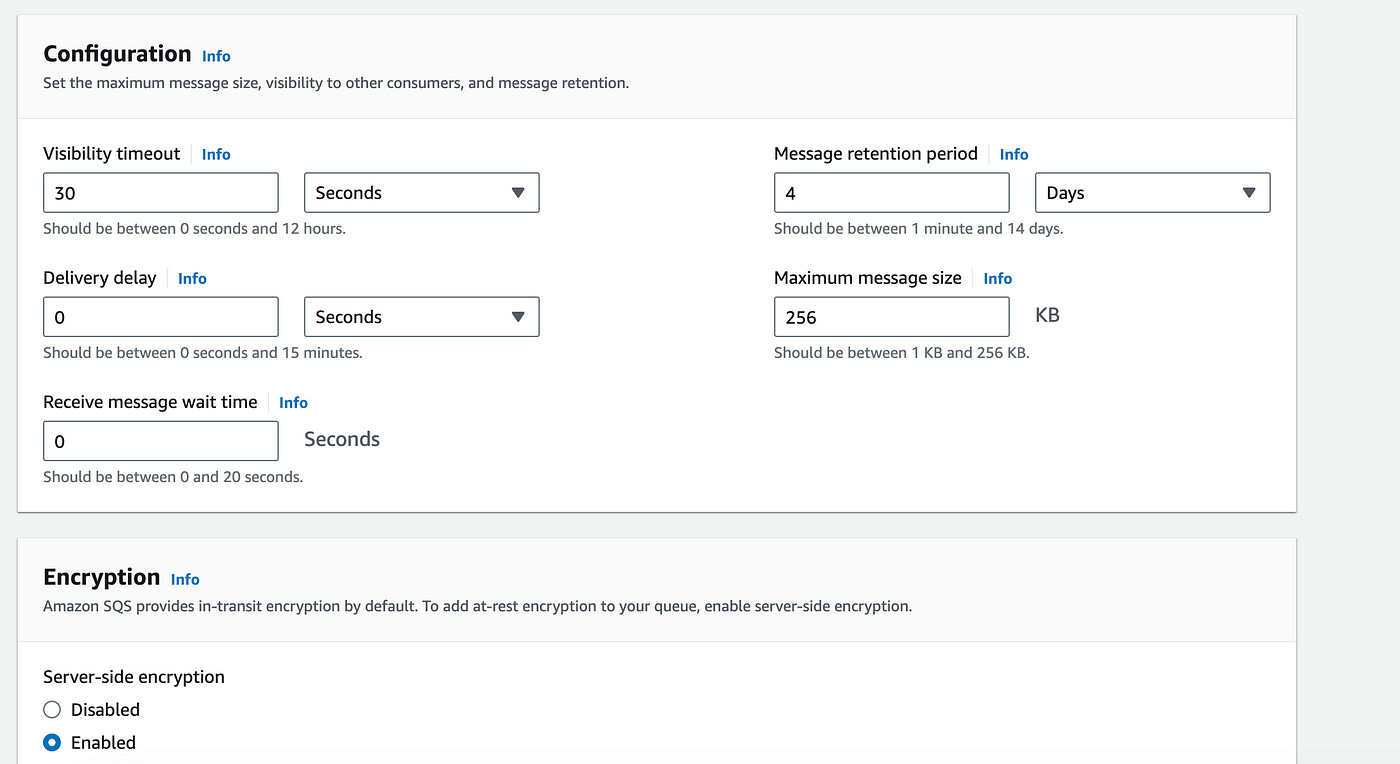
Encryption is enabled by default so we can leave that option as it is.
You can scroll past the rest of the settings and click the Create queue button to create the queue.
Send A Message
Let’s write some server side code to send a message to our queue. Afterwards we’ll also write the corresponding code to receive incoming messages.
In your project — we’ll be using Node JS — let’s first install the AWS SDK.
Open up a new terminal and enter the following command:
npm install aws-sdkOnce the AWS SDK is installed find the entry point file and add the following code:
const AWS = require('aws-sdk');
const sqs = new AWS.SQS({ region: 'us-east-1' });

const sendQueueMessage = async (queueUrl, messageBody) => {
  const params = {
    QueueUrl: queueUrl,
    MessageBody: messageBody,
  };

  try {
    const result = await sqs.sendMessage(params).promise();
    console.log('Message sent successfully:', result);
  } catch (error) {
    console.error('Error sending message:', error);
  }
};

const queueUrl = <MY_SQS_QUEUE_URL>;
const messageBody = 'Hello from SQS!';

sendQueueMessage(queueUrl, messageBody);
The code above instantiates the SQS API within the us-east-1 region (change it to match your closest AWS region).
We create a sendQueueMessage function which sets the parameters of the SQS sendMessage method with a queuUrl and a messageBody.
We can then call the sendMessage method to send the message to our queue.
Receive Message
To receive a message we use the SQS API again.
In our entry point file (index.js) file, we can add a function called receiveQueueMessages.
const receiveQueueMessages = async (queueUrl) => {
  const params = {
    QueueUrl: queueUrl,
    MaxNumberOfMessages: 10,
    WaitTimeSeconds: 20,
  };

  try {
    const result = await sqs.receiveMessage(params).promise();
    if (result.Messages) {
      console.log('Messages received:', result.Messages);
      result.Messages.forEach(async (message) => {
        console.log('Processing message:', message);
        //you can optionally delete the message after it has been received or let SQS delete it automatically.
      });
    } else {
      console.log('No messages to process');
    }
  } catch (error) {
    console.error('Error receiving messages:', error);
  }
};

receiveMessages(queueUrl);
In the function code above we set the parameters of the receiveMessage method.
We provide the queueUrl and configure it to retrieve 10 messages at a time using the MaxNumberOfMessages attribute.
We’ll also set the WaitTimeSeconds to 20 seconds which specifies the duration for which the call waits for a message to arrive in the queue before returning.
In the try block, we consume messages in the queue asynchronously. We can also process these messages however we want — create an order, upload a file, etc.
Optionally, we can delete the messages after we have processed them — or let SQS automatically delete them based on the retention period we set earlier.
We now have a functioning SQS queue that we can use to send messages between services.
Conclusion
We have successfully created our first message queue using Amazon SQS, a powerful tool used for decoupling and scaling microservices.
SQS message queues enable us to handle high volumes of requests efficiently, so that our services remain responsive and scalable.
Whether for scheduling tasks, buffering requests, or managing asynchronous workflows, Amazon SQS provides a robust and scalable solution for maintaining optimal application performance.
👋 My name is Uriel Bitton and I’m committed to helping you master Serverless, Cloud Computing and AWS.
🚀 If you want to learn how to build serverless, scalable, and resilient applications, you can subscribe to my blog:
https://medium.com/@atomicsdigital/subscribe
Thanks for reading and see you in the next one!